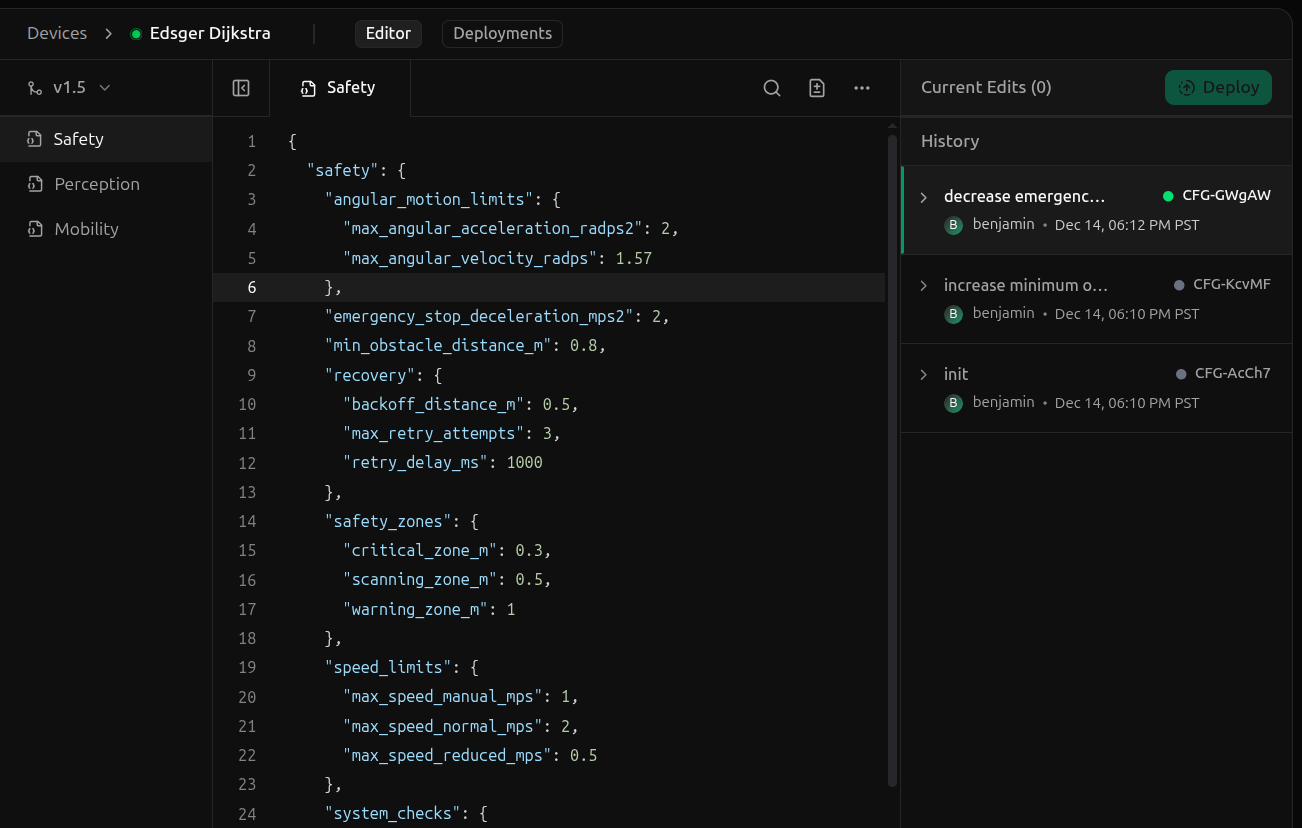
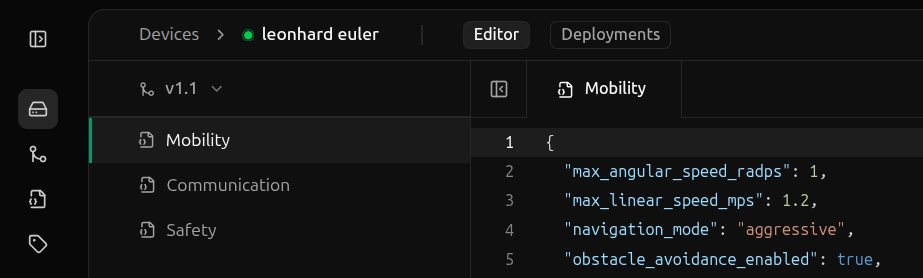
The config editor is the primary way to view and edit a device’s configurations.The editor is accessed by clicking into a device from the Devices page and selecting the Editor tab at the top.
The config editor offers a couple of layout adjustments to help you get the most out of the editor.WidthCustomize the width by dragging the vertical dividers to the left or right as desired.
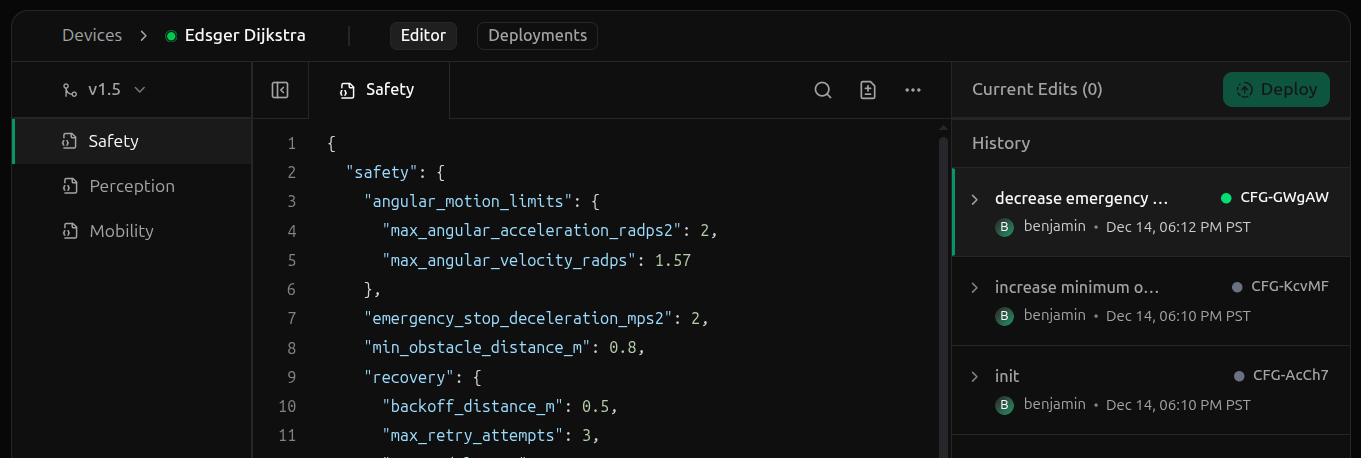
Hide Config TypesHide the config types sidebar by clicking the sidebar toggle in the top-left corner of the file editor.
History HeightCustomize the height of the history section by dragging the horizontal divider to the top or bottom.
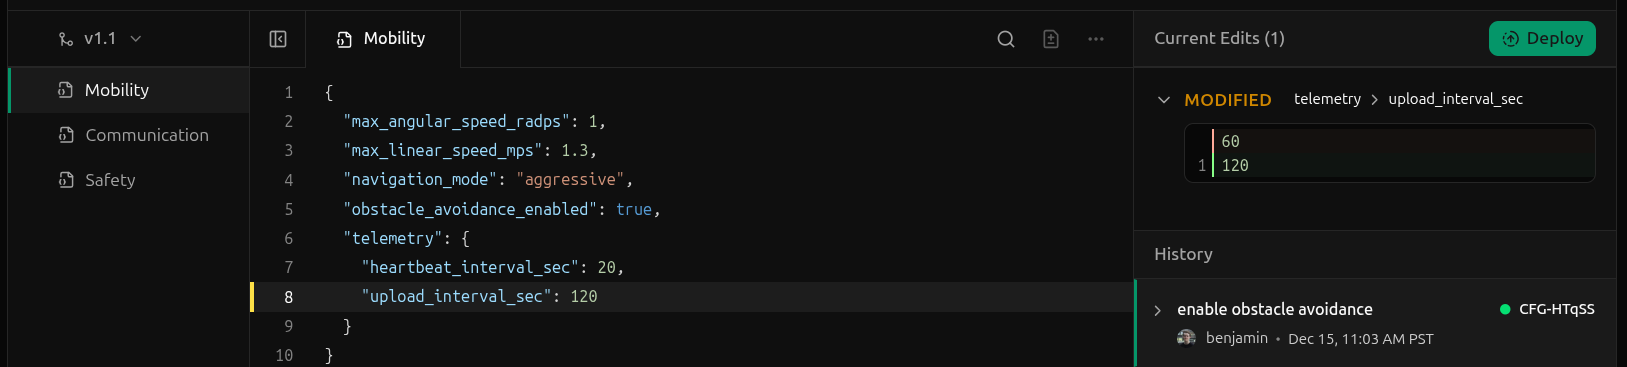
Patching a config instance is the process of creating a new config instance to replace the currently deployed one.Patching a config instance is only allowed from currently deployed config instances. Config instances that are not deployed are read-only and cannot be edited.To patch a config instance, edit the instance in the file editor.
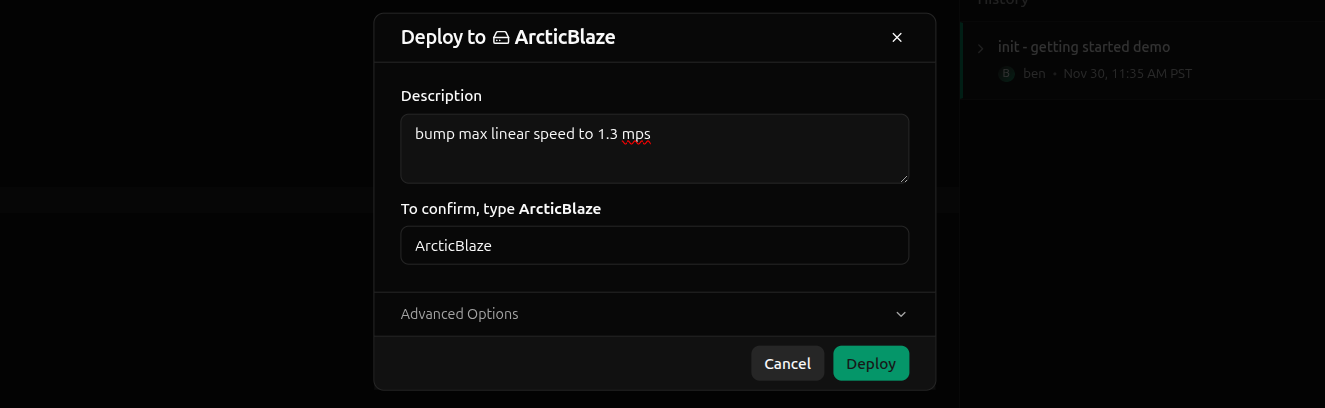
As edits are made, a log on the right maintains a list of all changes, categorizing them by their type: added, deleted, or modified.Once you’re satisfied with the edits, click Deploy in the top-right. A dialog will appear to confirm the deployment.
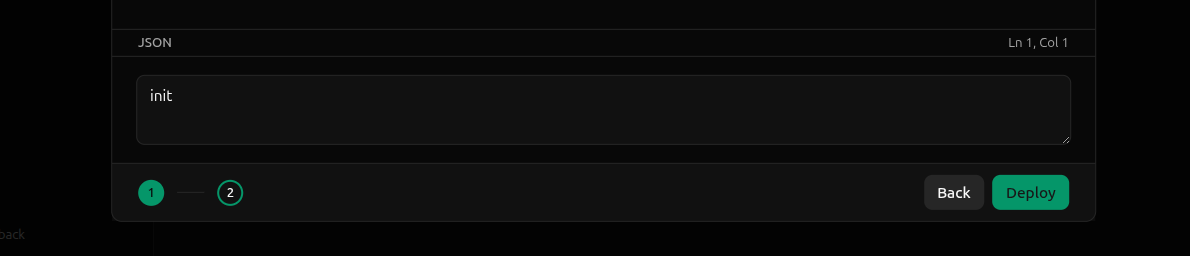
Add a description, confirm the device, and click Deploy.
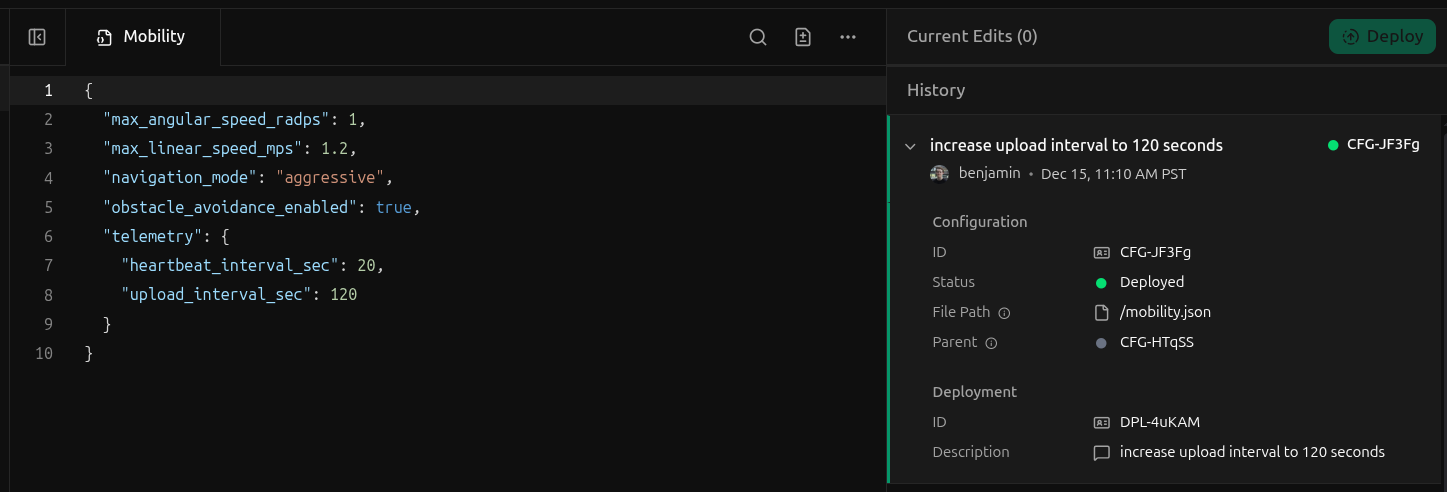
The right side of the config editor maintains a history of all the config instances deployed to the device for the currently selected config type.
You can view more information about a history entry by hitting the dropdown arrow to the left of the entry.For more information about a config instance property in a history entry, see the config instance properties.For more information about a deployment in the history entry, refer to the deployment properties.
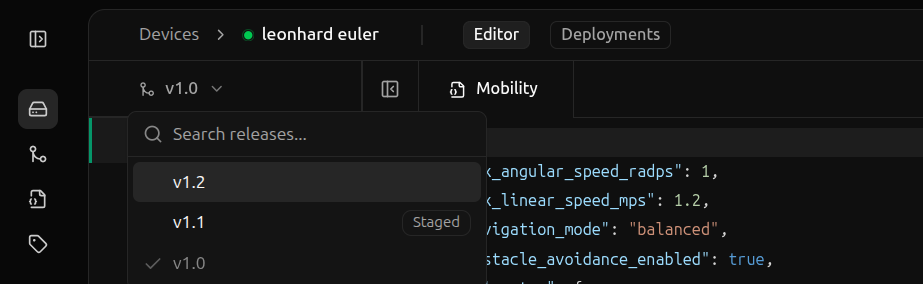
If you’ve staged a deployment on the chosen release for the device, the release will have the Staged badge next to it.Select a release with a Staged badge and hit Next.
The deployment staged on this release will appear in the dialog. Select the deployment and hit Deploy.
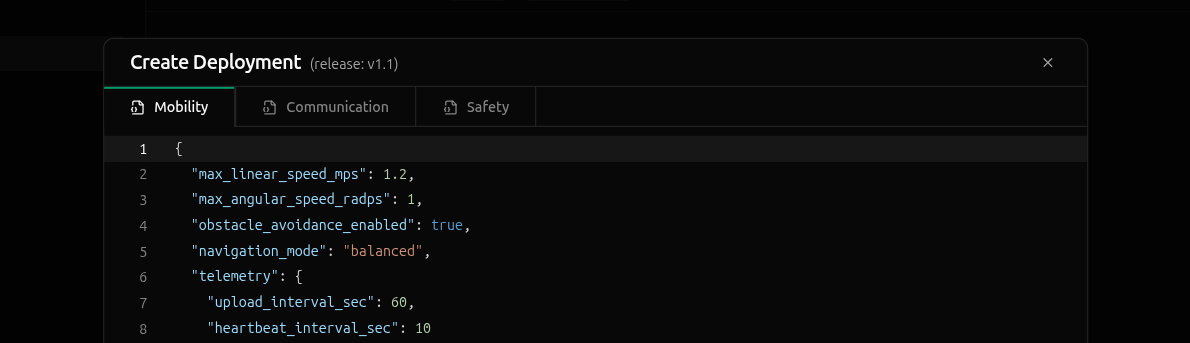
If the release you selected has no staged deployments, you’ll immediately be presented with a dialog to create a new deployment.
The dialog includes a tab for each config schema defined in the release, each pre-populated with the schema’s default values.Make any desired edits to the config instances, enter a description at the bottom of the dialog, and hit Deploy.