Dashboard
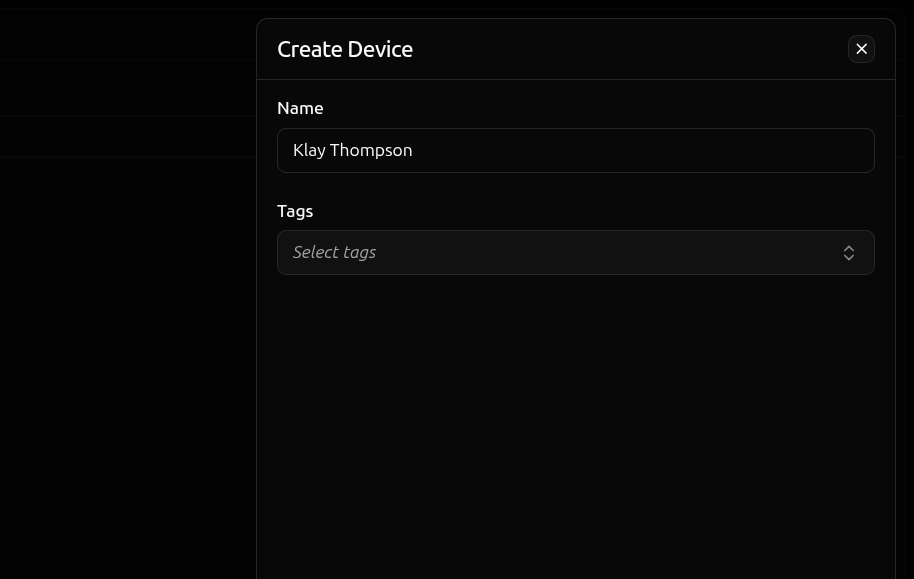
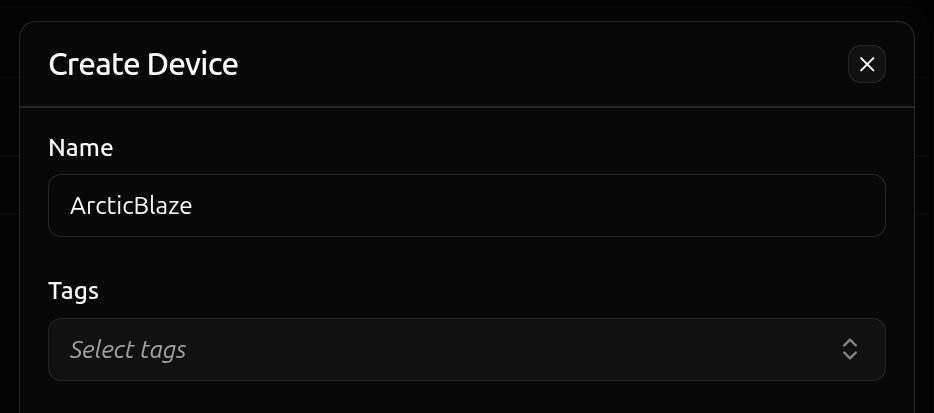
The Miru dashboard is the simplest way to provision devices, ideal for getting started or managing individual devices. For automated deployments or provisioning devices at scale, consider using API Keys instead.Create a Device
Navigate to the Devices page.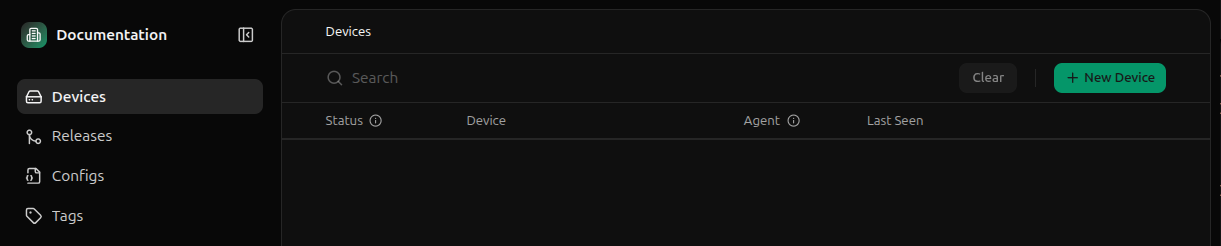
Install the Agent
Click the Activate button on the device you just created.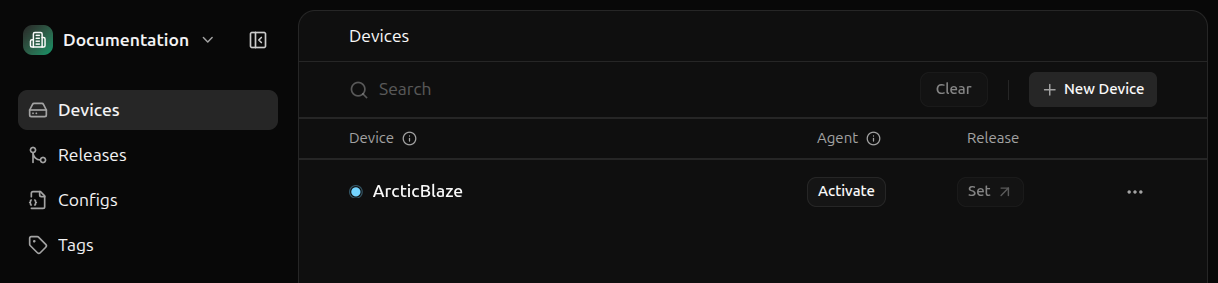
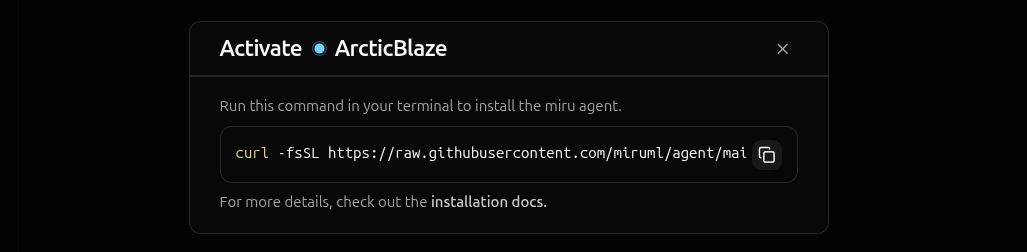
curl -fsSL <installation-script-url>- downloads the installation script from the Miru Agent repository|- pipes the downloaded script to the shellenv MIRU_ACTIVATION_TOKEN=<activation-token>- sets the activation token environment variablesh- executes the script with the token
- Downloads the agent - fetches the latest Miru Agent Debian package
- Installs the service - installs the agent as a
systemdservice - Activates the device - registers the agent with Miru servers using the activation token
Verify the Installation
Upon successful installation, you’ll see a confirmation message in the terminal.Activating before transitioning to Online.
The transition from
Activating to Online typically takes 5-15 seconds, depending on your network connection.API Keys
To programmatically provision devices, Miru offers API keys. Unlike the dashboard installation, which requires manual interaction with the web interface for each device, provisioning devices via API keys allows you to:- Provision multiple devices at scale without manual intervention
- Integrate with existing infrastructure management tools and workflows
- Use in headless environments where a web browser isn’t available
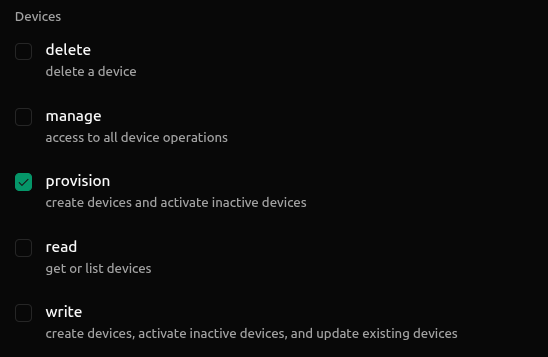
Create the API Key
Navigate to the API Keys page in the dashboard and click New API Key in the top right corner. Give the key a descriptive name and select thedevices:provision scope.
Provision the Device
On the device you want to install the Miru Agent, set theMIRU_API_KEY environment variable to your API key.
- Creates the device - creates a new device in the Miru dashboard if a device with the provided name doesn’t already exist
- Downloads the agent - fetches the latest Miru Agent Debian package
- Installs the service - installs the agent as a
systemdservice - Activates the device - registers the agent with Miru servers using the activation token
The name of the device in the Miru dashboard.Default:
$HOSTNAMEAllows reactivation of existing devices.Without this flag, only
inactive devices can be activated. With this flag, devices that have been previously activated (status online, offline, etc.) may be reactivated.Default: falseThe agent version to install (e.g.,
v0.6.0).Defaults to the latest release. See all available versions.The file path to the Miru Agent Debian package to use for installation. Useful for installing the agent in poor connectivity scenarios.
Verify Installation
Upon successful installation, you’ll see a confirmation message in the terminal.Activating before transitioning to Online.
The transition from
Activating to Online typically takes 5-15 seconds, depending on your network connection.Poor Connectivity
Some environments may have a poor internet connection. Whether located in a remote area or using a cellular connection, downloading the Miru Agent over a network may be impractical in some environments. In such scenarios, we recommend downloading the Miru Agent to a computer with a stable connection and then transferring it to the target machine. While this method circumvents the need to download the Miru Agent over a network, activating the agent still requires some level of connectivity to register the device with the Miru servers.Download the Agent
All Miru Agent releases are available as Debian packages on GitHub. You can find the latest release here.Releases with the
Pre-release tag are not yet considered stable and may contain bugs or other issues. Use at your own risk..deb extension are the Debian packages for the Miru Agent.
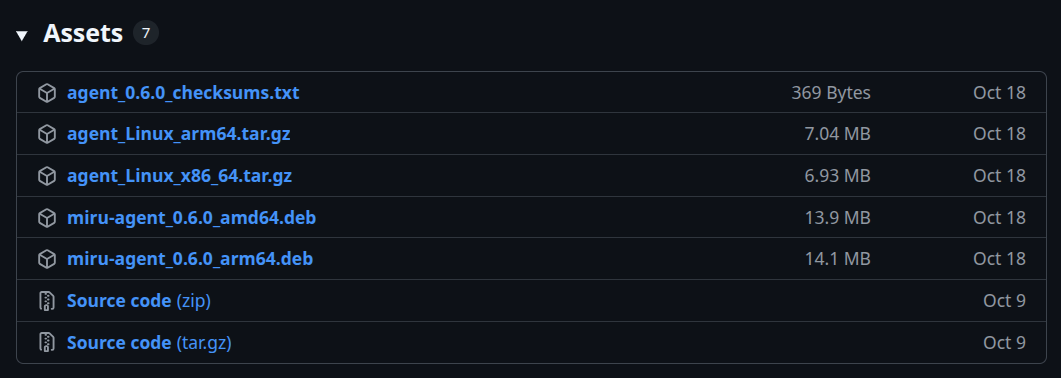
amd64, arm64, etc.). Find the architecture that matches your target machine’s architecture and download the package.
For example, if your robot is an x86_64 machine, you’ll want to download the miru-agent_<version>_amd64.deb package. If your robot is an aarch64 machine, you’ll want to download the miru-agent_<version>_arm64.deb package.
To download a package, click on the filename in GitHub.
Transfer the Agent
Once you’ve downloaded the appropriate Debian package, transfer it to your target machine. This can be done via a variety of methods, such as a USB drive.Install the Agent
After transferring the package to your target machine, install it by adding the--from-pkg argument to the installation command.
API keys
If installing via an API key, add the --from-pkg argument to the provision script.
You’ll need to replace
<path/to/miru-agent_<version>_<architecture>.deb> with the actual path to the package.- Copy the installation command from the dashboard
- Append
-s -- --from-pkg=/path/to/agent.deband replace the<path/to/agent.deb>with the actual path to the agent package