Prerequisites
To create a schema, the following prerequisites must be met:- CLI installed - install the Miru CLI on your development machine and authenticate using the login command
- Config type created - create a config type to house the schema
Define the schema
Begin by defining your schema using a supported schema language. You can find example schemas in our getting-started repository. If you’re not sure which language to use, we recommend starting with JSON Schema—it’s the most widely used and easiest to start with. To get started quickly, feel free to use an empty schema, which considers all config instances as valid.Annotations
Miru offers several schema annotations to keep track of schema metadata and deployment information.The config type is a required annotation that identifies the config type that a schema belongs to. Below is the syntax for annotating your schema with the config type slug.Examples:
mobility, safety-features, perceptioninstance file path
The instance file path is the file system location that config instances (for this schema) are deployed to relative to the The instance file path can be updated after schema creation, so don’t worry about getting it right the first time. You can always update it later.Examples:
/srv/miru/config_instances directory.This annotation is optional and defaults to {config-type-slug}.json, which deploys config instances to /srv/miru/config_instances/{config-type-slug}.json on a given device./v1/mobility.json, /safety.json, configs/perception.jsonGit integration
Metadata
When pushing a schema to Miru, the CLI automatically captures the following git metadata from the local git repository that the CLI is run from:- Commit SHA - the SHA of the current commit that the schema is defined in
- Origin URL - the remote URL of the git repository
- File path - the path to the schema file within the repo
Requirements
To be able to capture git metadata, schemas must meet the following requirements when uploading from the CLI:- The schema must be defined in a local git repository
- The git repository must have a remote URL (GitHub, GitLab, Bitbucket, etc.)
- The schema’s latest changes must be committed to the git repository before pushing to Miru (cannot be dirty or unstaged)
Push the schema
Once you’ve defined a schema and committed to git, you’re ready to push the schema to Miru using the CLI.Required arguments
There are two required arguments that must be provided when pushing a schema to Miru.The relative or absolute file system path of the schema file to push.
The version to give the schema. Must be a valid semantic version.Examples:
v1, 2.0.0, 1Run the command
To push the schema, simply replace{path/to/schema.yaml} and {version} with the actual path to the schema file and version you want to give the schema.
New schemas
If a schema with the provided version does not exist, a new schema is created.command
Existing schemas
If a schema with the provided version already exists and it’s content is equivalent to the schema being pushed, nothing happens.output
Troubleshooting
There are a couple common issues you may encounter when pushing a schema to Miru. Here are some tips to troubleshoot and resolve them.- Version Conflict
- Duplicate Schema
If a schema with the same version but different content already exists, an error is returned.To troubleshoot the issue, first navigate to the Config Types page and click into the config type the schema belongs to.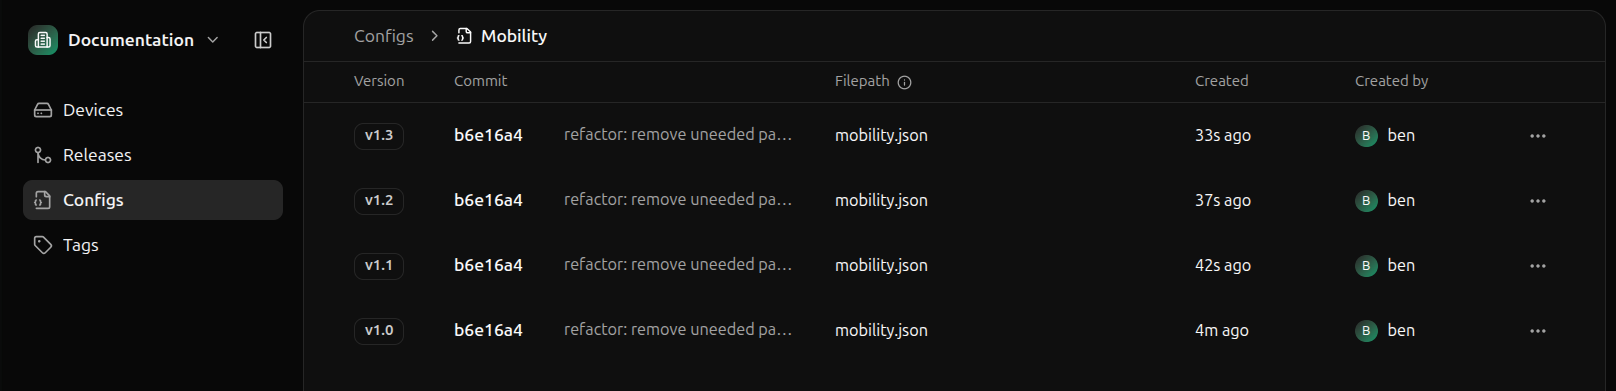 Click the schema with the version in question to open the schema details panel and view the schema content.
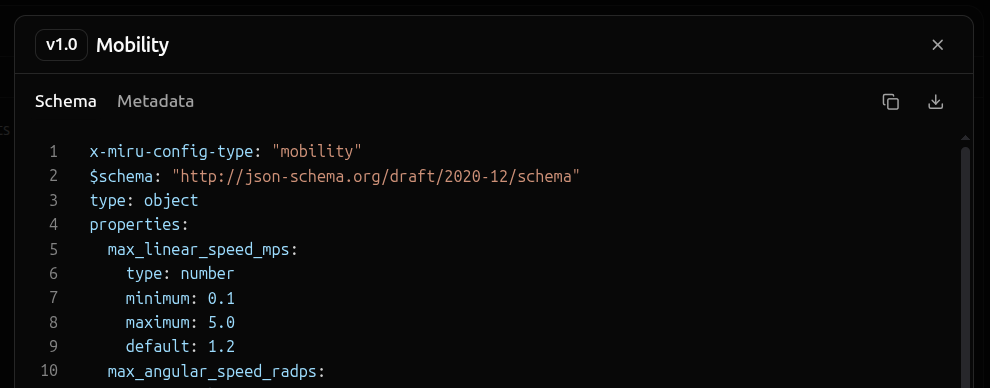 You can also select the Metadata tab to view the git commit information, which provides a link to the schema’s original commit in your hosted git repository provider (GitHub, GitLab, Bitbucket, etc.).
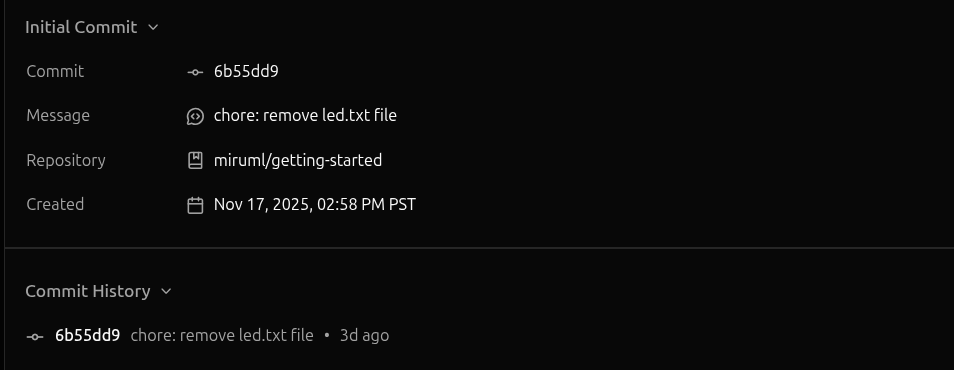
output