systemd service that runs on your machines, handling the deployment lifecycle of configurations. For more information on the agent, visit the Miru Agent section.
Supported platforms
The Miru Agent only supports Linux. MacOS and Windows are not supported. The following operating systems are tested and verified to work with the Miru Agent:- Ubuntu 20.04, 22.04, and 24.04 LTS
- NVIDIA Jetson JetPack 5.1 and JetPack 6.1
- Raspberry Pi OS (64-bit)
Create a device
Navigate to the Devices page.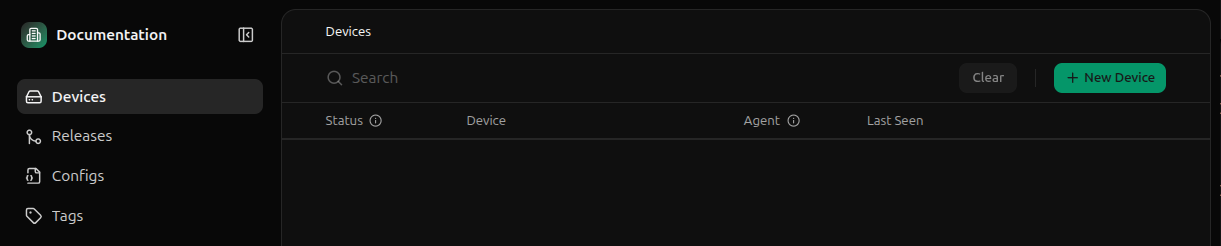
Install the agent
Click the Activate button on the device you just created.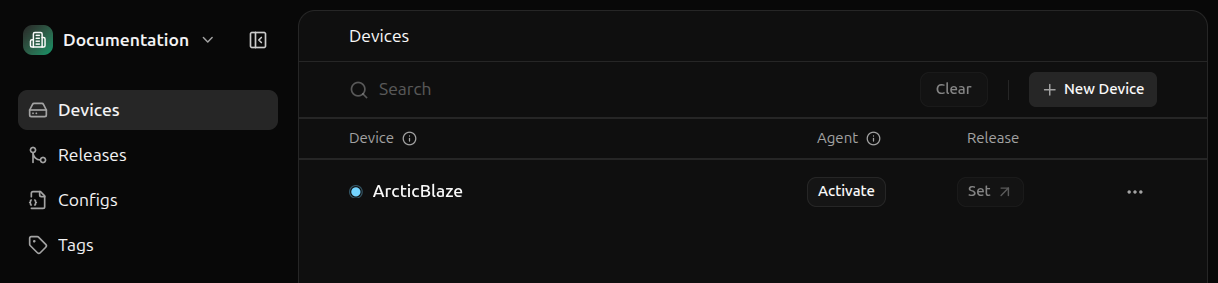

curl -fsSL <installation-script-url>- downloads the installation script from the Miru Agent repository|- pipes the downloaded script to the shellenv MIRU_ACTIVATION_TOKEN=<activation-token>- sets the activation token environment variablesh- executes the script with the token
- Downloads the agent - fetches the latest Miru Agent Debian package
- Installs the service - installs the agent as a
systemdservice - Activates the device - registers the agent with Miru servers using the activation token
Verify the installation
Upon successful installation, you’ll see a confirmation message in the terminal.Activating before transitioning to Online.
The transition from
Activating to Online typically takes 5-15 seconds, depending on your network connection.