To keep thing simple, we’ve provided a getting-started repository that contains a variety of sample schemas. Follow along with us by cloning the repository.
git clone https://github.com/miruml/getting-started.git
Mobility config type, which has two sample schema variations:
- Empty schema - a schema that regards all config instances as valid
- Strict schema - a well-defined schema that constrains the valid fields, types, and values for instances of the
Mobility config type
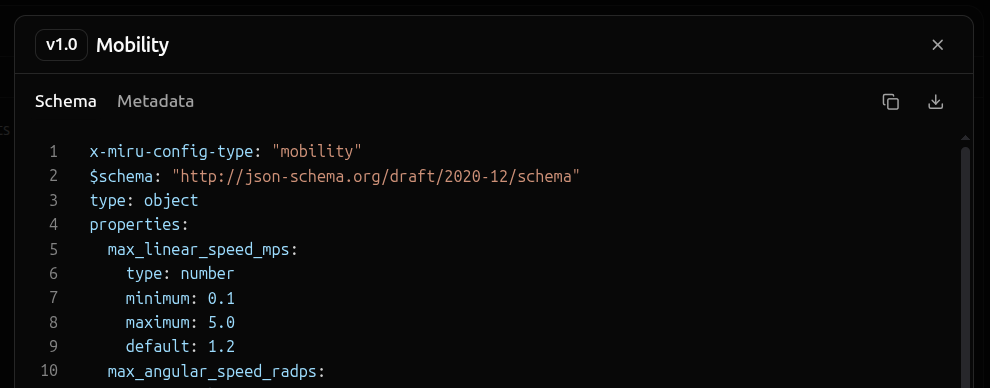
Below are the empty and strict schemas defined in the getting-started repository.x-miru-config-type: "mobility"
$schema: "http://json-schema.org/draft/2020-12/schema"
This guide defaults to JSON Schema. To follow along with another schema language, select from the dropdown in the top right corner of this page. Create a config type
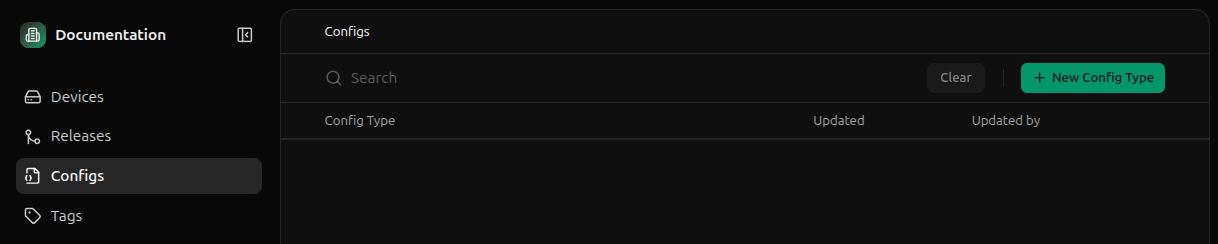
Before defining a schema, we first need to create a config type to house it. Navigate to the config types page.
Click New Config Type button. Supply the name Mobility and slug mobility. Finally, click Create.
Config type slugs are permanent and cannot be changed after creation.
Config Type Slug Annotation
x-miru-config-type: "mobility"
Mobility schema with the mobility slug, so no need to add it yourself.
Setup the CLI
With Miru, config schemas can only be created via the CLI.
This is a deliberate design choice—we believe schemas should live in a git repository. This allows them to be versioned alongside the code that uses them and encourages better software development practices.
Install
To install the Miru CLI, run the installation command in your local machine’s terminal.
curl -fsSL https://raw.githubusercontent.com/miruml/cli/main/install.sh | sh
curl, tar, grep, and cut to be installed.
Review the contents of the installation script here.The Miru CLI supports macOS and Linux. Windows is not supported.
Login
To login, run the login command.
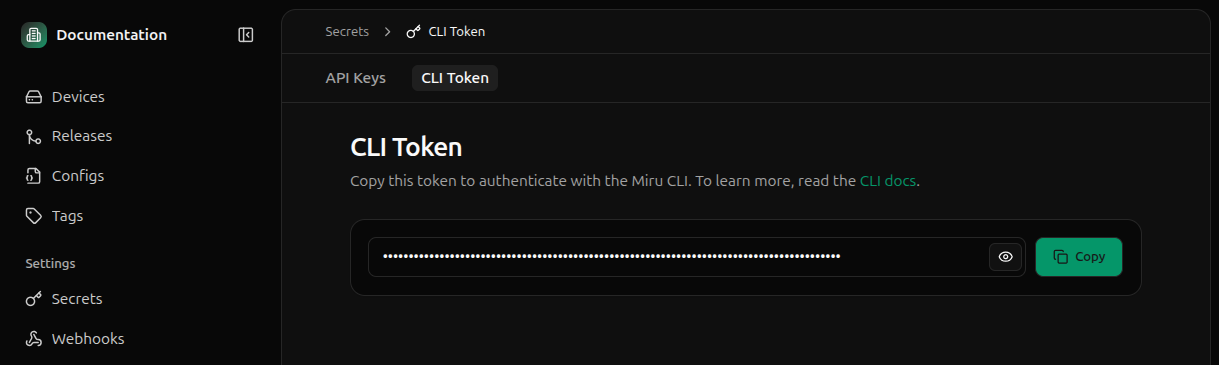
Retrieve your authentication token from the Secrets page.
You must be an admin user to retrieve an authentication token.
Please retrieve your authentication token from the following URL:
🔗 https://app.miruml.com/settings/cli-token

🔑 Paste your authentication token: **********

Validating authentication token...
✅ Successfully logged in as Benjamin
Push a schema
With the CLI setup, we are ready to push a schema to Miru.
Navigate to the root of the getting-started repository and push the mobility schema to Miru.
miru schema push ./jsonschema/empty-mobility.yaml --version=v1.0
🔍 Collected Git Metadata
commit: b6e16a4baecb7631dc40663219832156be7eb08b
origin: [email protected]:miruml/getting-started.git
file path: jsonschema/empty-mobility.yaml
message: refactor: remove uneeded package imports & comments
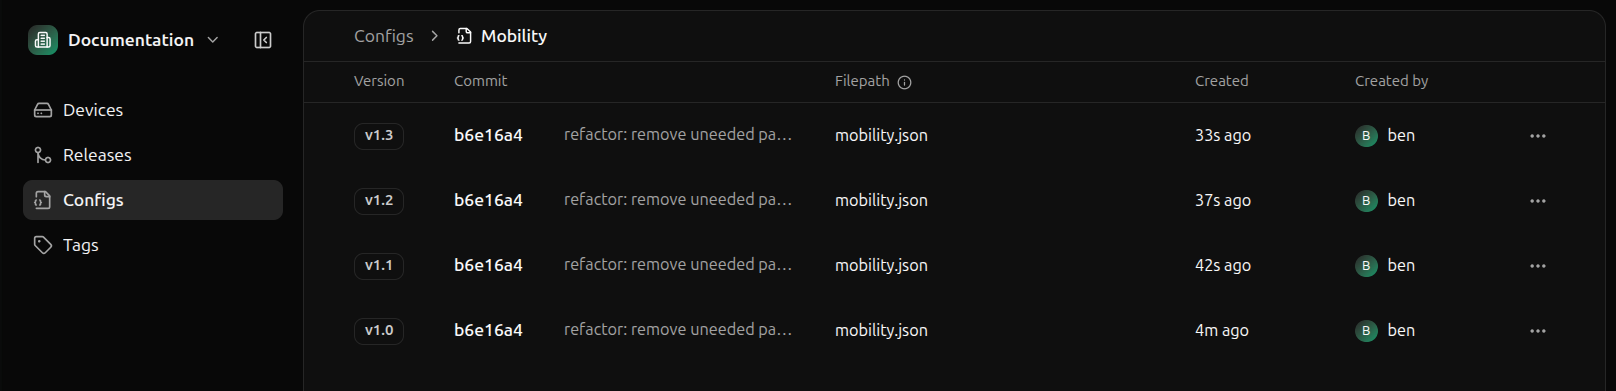
🟢 mobility v1.0 successfully created
language: jsonschema
format: yaml
created: Nov 30, 2025 at 10:15 AM PST
instance file path: /mobility.json
Git metadata is pulled from the local git repository the schema is defined in.
Mobility config type.
Clicking into a specific schema will show the schema details, including its metadata the schema content.