Create a release
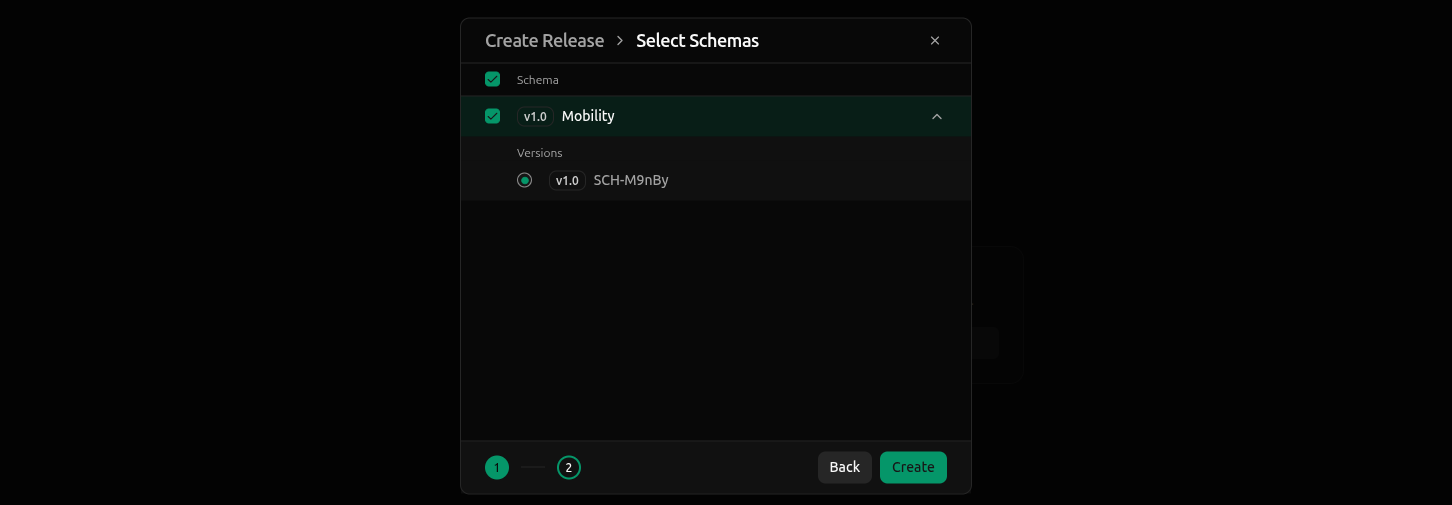
The final preparation step before deploying a config instance is to create a software release to associate it with. Navigate to the Releases page .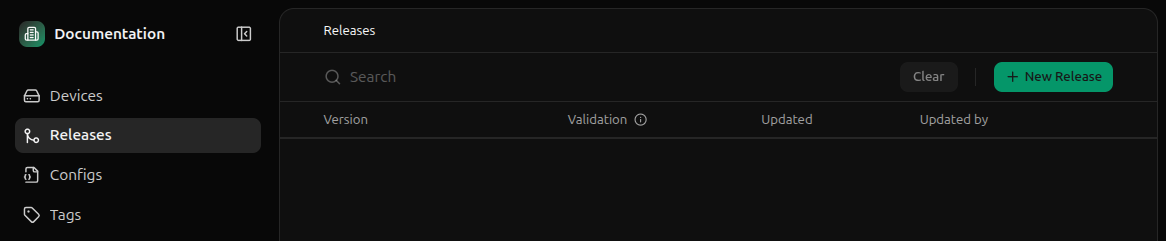
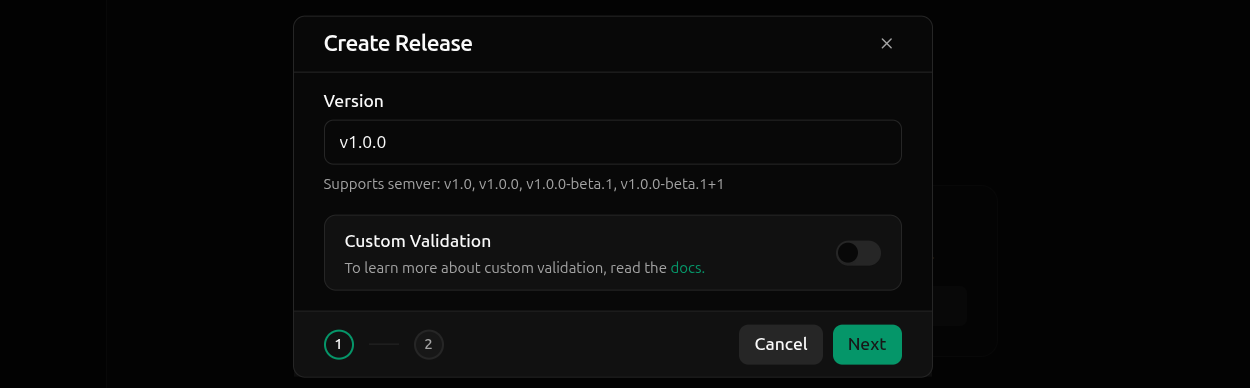
Mobility version v1.0 and click Create.
Deploy a config
We’re ready to deploy a config instance to a device. Navigate back to the Devices page and click into the device we activated in the previous step.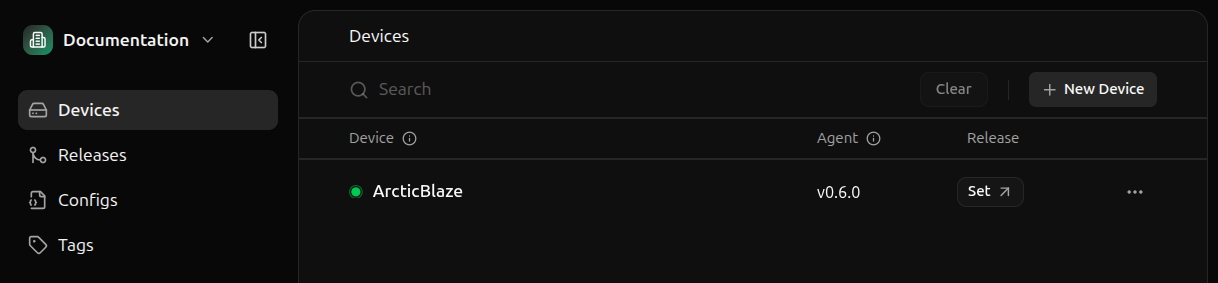

Mobility config instance.

The instance is auto-populated with the default values defined in the
Mobility config schema. If using the empty schema, the auto-populated instance will be empty.
Verify the deployment
To verify the config seen in the editor is deployed to the device, drop down the deployed config instance (the one with the green dot) in the editor.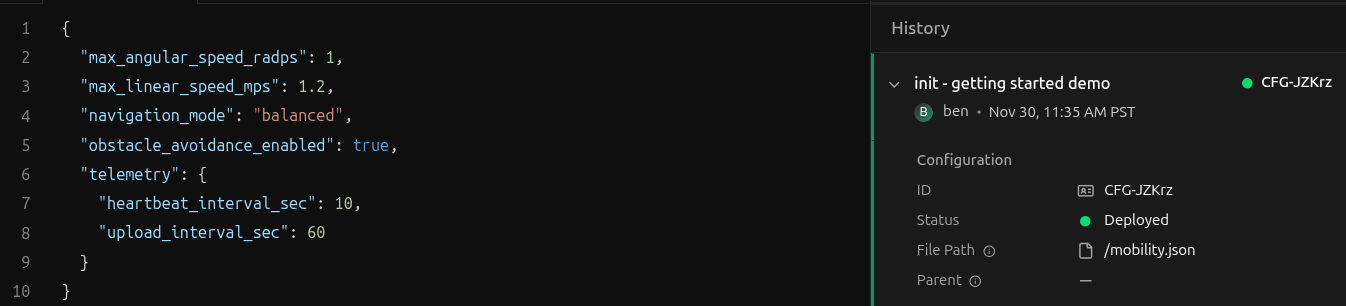
File Path field shows the file system path that the config instance is deployed to relative to /srv/miru/config_instances.
Since our File Path is /mobility.json, the config instance is deployed to /srv/miru/config_instances/mobility.json.
To verify the config instance is deployed to the device’s file system, open a terminal on the device and navigate to the /srv/miru/config_instances directory.
cat the config instance by copying the File Path displayed in the editor.
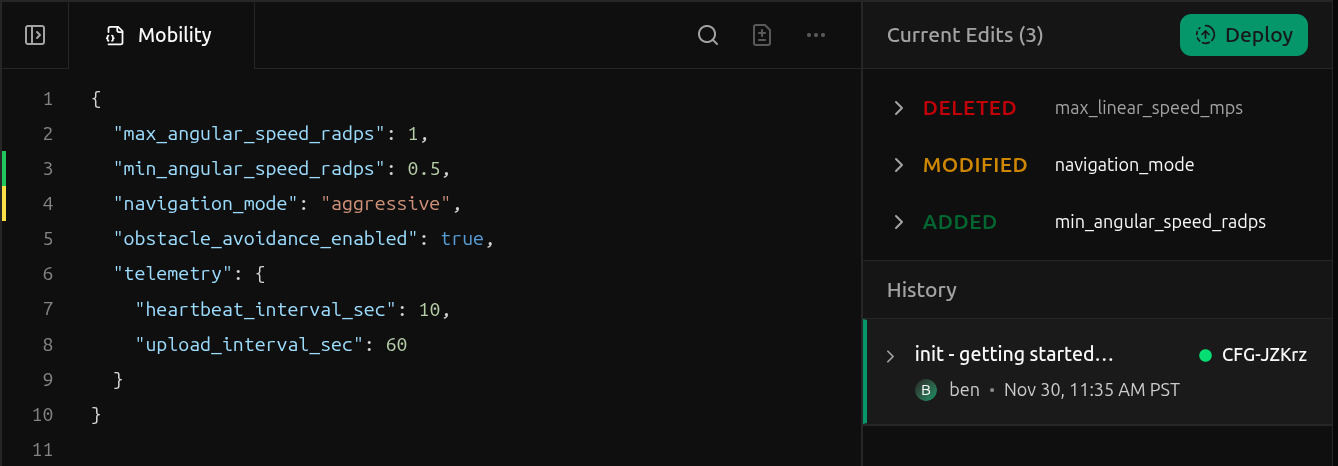
Edit a config
To edit a config instance, make some changes to the current config instance. As edits are made, a log on the right maintains a list of all changes, categorizing them by their type:added, deleted, or modified.