
Clone the repository

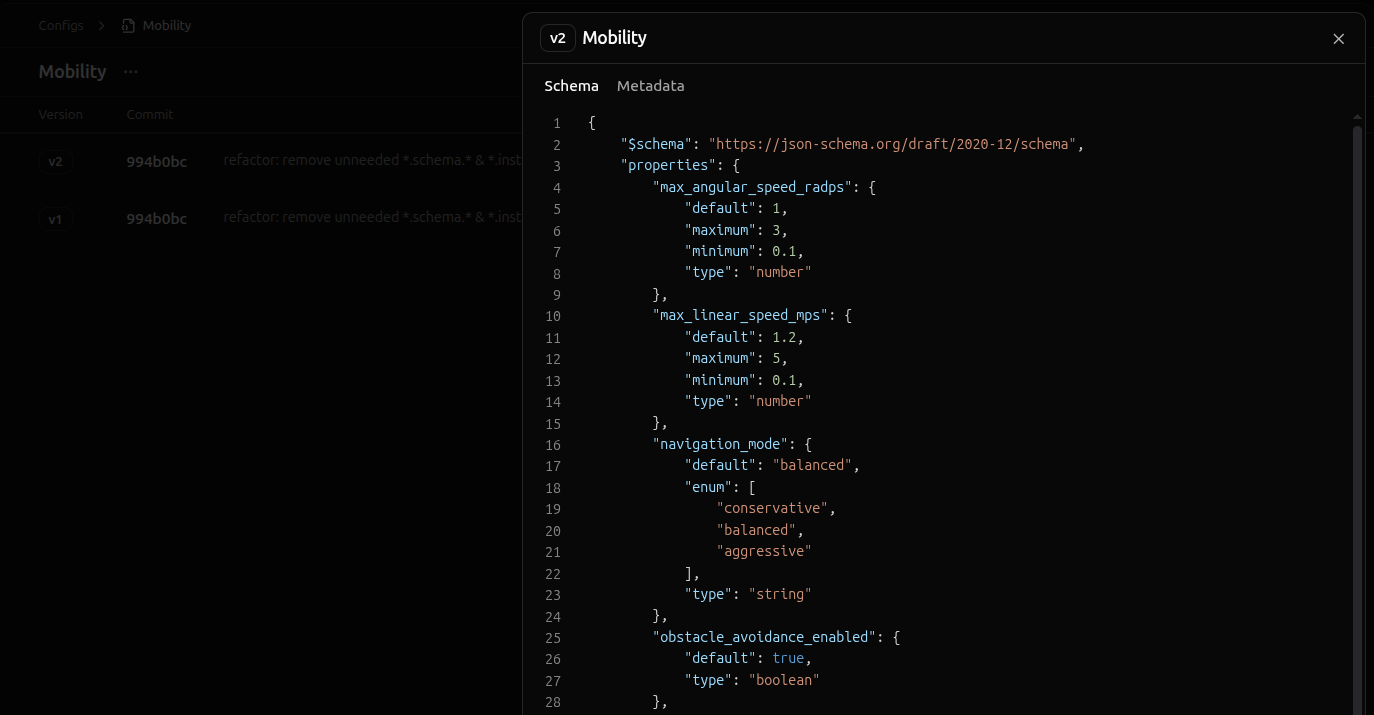
To make things simple, we’ve created a starter repository with sample schemas and sample instances. To follow along, clone the getting-started repository using the following command.
git clone https://github.com/miruml/getting-started.git
While the getting-started repository contains a variety of sample schemas and sample instances, this guide focuses on the Mobility config type, which has two schema variations:
  • Schemaless - an empty JSON Schema that regards all config instances as valid
  • Strict Schema - a well-defined JSON Schema that defines the valid fields, types, and values for instances of the
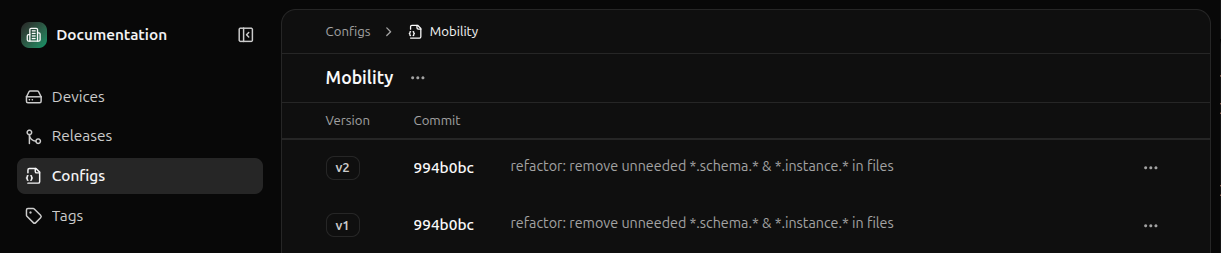
 Mobility config type
$miru_config_type_slug: "mobility"
$schema: "http://json-schema.org/draft/2020-12/schema"
title: Schemaless Mobility
While we recommend using a strict schema, many teams find it simpler to begin with a schemaless approach. This guide covers both methods, so feel free to choose the one that best suits your needs.

Create a config type

Before defining a schema, we first need to create a config type to house it. Navigate to the Config Types page.
Click the 
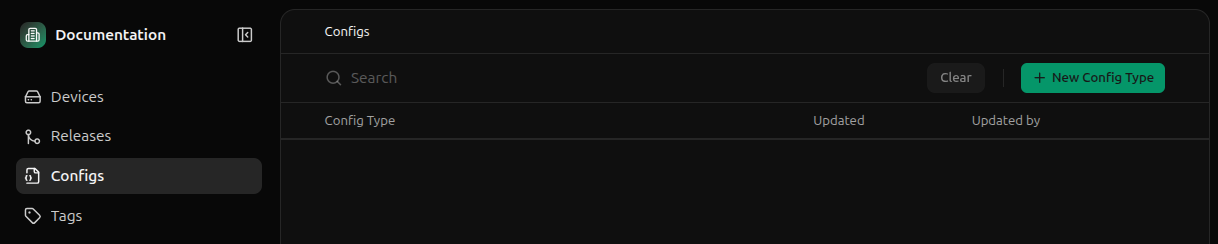
+ New Config Type button, supply the name Mobility and slug mobility, and click Create.
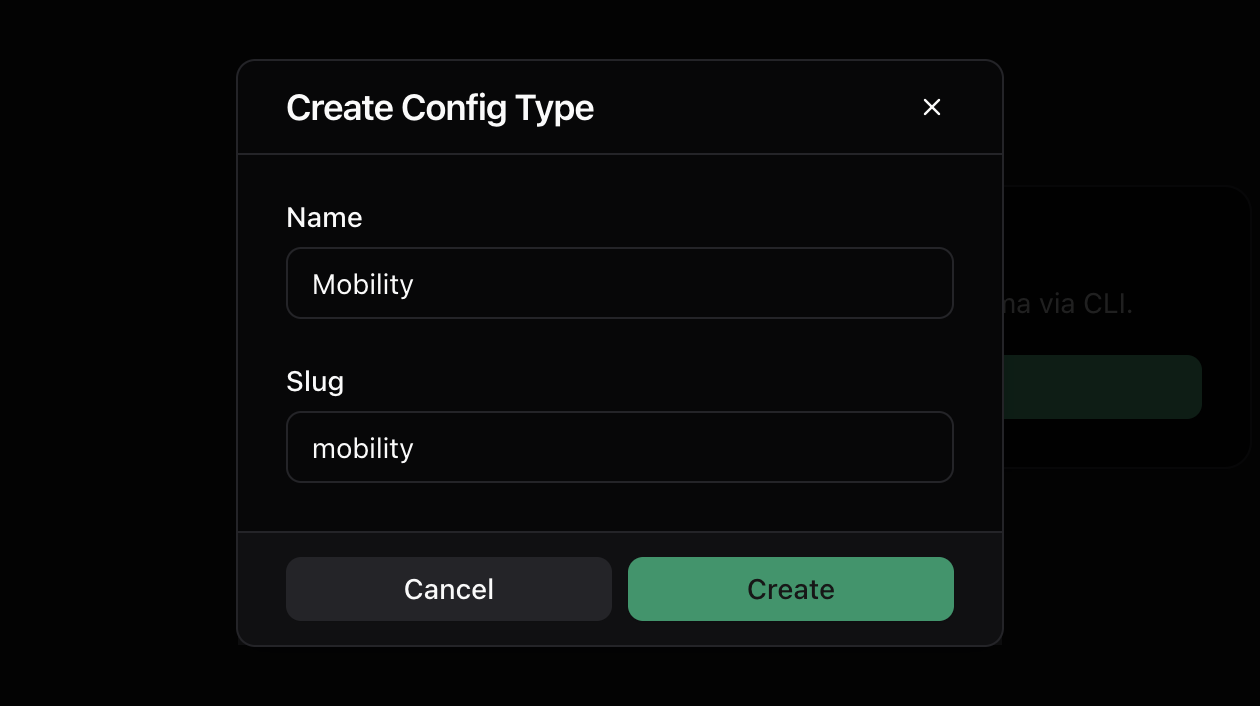
Config Type slugs are permanent and cannot be changed after creation.
The slug is a unique identifier for the config type—it’s how the CLI determines what config type a schema belongs to. As such, all config schemas must include the $miru_config_type_slug field. We’ve already included the $miru_config_type_slug field in both the mobility-schemaless.yaml and mobility.yaml schemas inside the getting-started repository.
$miru_config_type_slug: "mobility"

Install the CLI

Config schemas typically live in a git repository, allowing them to be versioned alongside the code that uses them. As such, Miru provides a CLI for pushing schemas to Miru. The CLI is useful for local development and testing, but can also be used in CI/CD pipelines to automatically push schemas to Miru as part of your release process. Install To install the Miru CLI, run the installation command in your local machine’s terminal.
  • Linux
  • macOS
curl -fsSL https://raw.githubusercontent.com/miruml/cli/main/install.sh | sh
The script requires curl, tar, grep, and cut to be installed. Review the contents of the installation script here.
The Miru CLI supports macOS and Linux. Windows is not supported.
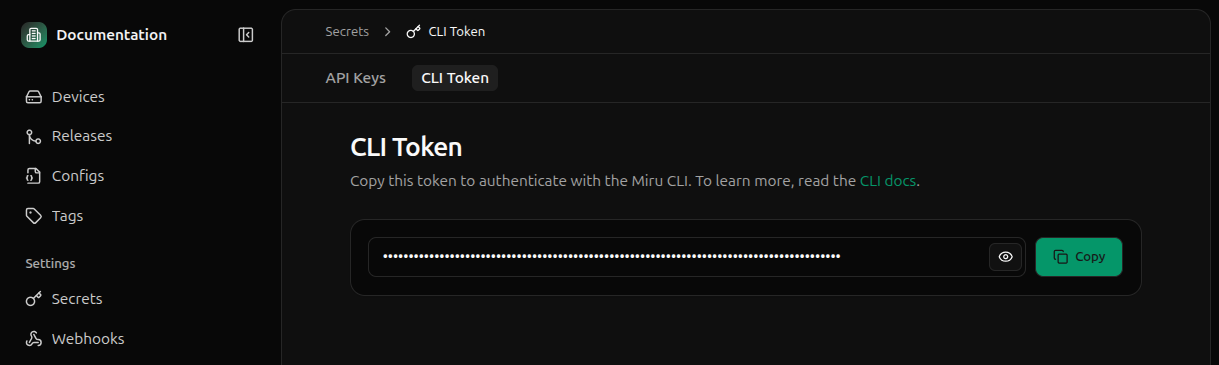
Login To login, run the login command.
miru login
Retrieve your authentication token from the Secrets page.
Paste the token into the CLI.
Please retrieve your authentication token from the following URL:
🔗 https://configs.miruml.com/secrets/cli-token

🔑 Paste your authentication token: **********

Validating authentication token...
✅ Successfully logged in as Benjamin

Push a schema

With the CLI installed and authenticated, we are ready to push a schema to Miru. Navigate back to the root of the getting-started repository and push the appropriate schema to Miru.
miru schema push ./schemas/mobility-schemaless.yaml
Upon a successful push, you’ll see a confirmation message similar to the following.
📦 Attempting to push 1 config schemas...

🟢 Successfully created mobility schema v1
     Relative deployment file path: /mobility/schema_v1/instance.json
     Git Info:
        Commit: 994b0bc4499494b02e34eb76b5bdc1eac2ca79a1
        Branch: main
        Origin: https://github.com/miruml/getting-started.git
        Repo File Path: schemas/mobility-schemaless.yaml


 Successfully pushed 1 config schemas
Git information is pulled from the local git repository that the schema is defined in. Miru does not require any access to your remote git repository.
To view the schema in Miru, navigate to the Config Types page and click into the Mobility config type.
Clicking into a specific schema will show the schema details, including its metadata the schema content.